Step by Step Custom MADSEN Electric Assist Installation
Custom MADSEN E-Assist Installation (we highly recommend taking your MADSEN to a local bicycle shop for installation of the MADSEN e-assist)
Custom MADSEN E-Assist Installation
-
- Remove bucket.
- Remove chain guard & chain guide.
- Shift MADSEN to the smallest gear.
- Remove pedals, crank arms & bottom bracket.
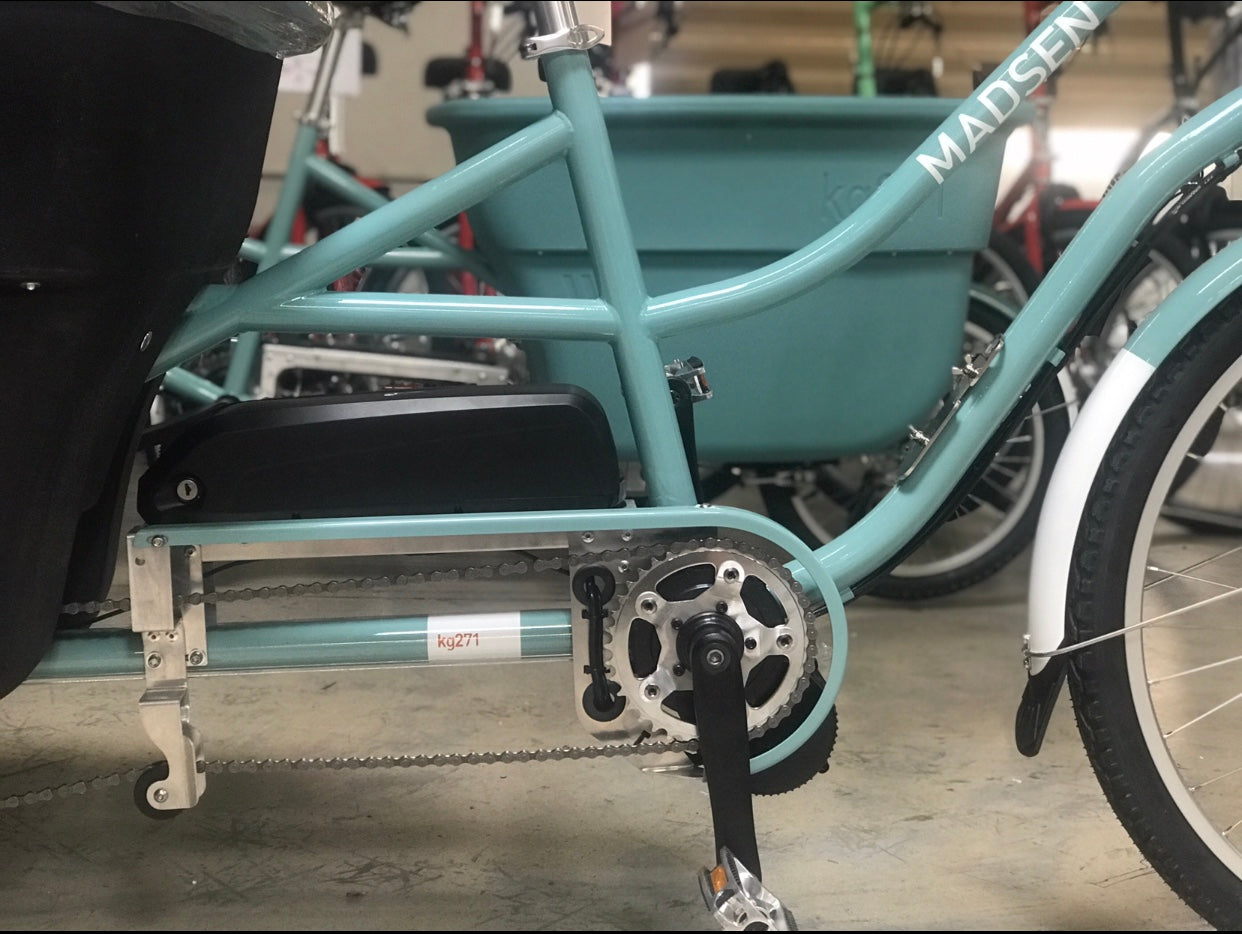
- Slide motor assembly into bottom bracket. DO NOT BOLT IT ON YET. Install motor by sliding it into the bottom bracket.
- Tuck wire harness under bottom bracket.
- Bolt battery bracket onto frame using the 4 - M5 Bolts (M5x15 from chain guide)
- Bolt on U-shaped bracket around bottom bracket onto motor, using 2 - M6 Bolts (M6x10 from bolt bag). Make sure the bumps are facing towards the frame. Loosely tighten each bolt, going back and forth at first. Then tighten all the way, going back and forth between bolts.
- Install motor bottom bracket nut using the Madsen Tool. Tighten to 60 NM.
- Install top aluminum bottom bracket nut using the Madsen Tool. Tighten to 25-30 NM
- Remove chainring from old crank. Bolt chainring onto spider bracket plate, being careful not to bolt it on backwards. The spider bracket will sit on top of the chainring so when installed it will push the chainring away from the motor.
- Install chainring assembly onto motor using 5 - M5 Bolts (M5x8 from bolt bag). Loosely tighten the bolts. Perform final tightening of bolts, moving in a star pattern.
- Install chain on to chainring. Open up chain guide mount bracket to thread chain under the installed barrel. You will need to remove the wheel off the chain guide you removed from your Madsen and slide wheel over already installed barrel. Place chain on wheel and close up chain guide.
- Install chain guard onto chain guard mount using old chain guard bolts.
- Install crank arms - make sure L is on left side and R on right side.
- Install Pedals - again, make sure L is on left side and R is on right side.
- Install speed sensor and magnet on rear wheel.
- Remove old shift cable, install new one through shift sensor by the motor.
- On both brake levers, line up slots on the barrel adjuster with brake levers.
- Squeeze the brake levers and pull on the housing while releasing lever. Housing and cable should come free.
- Replace levers with e-kit levers, install levers
- Connect wires on levers to the harness.
- Zip tie wires and harness
- Connect display to wire harness.